





















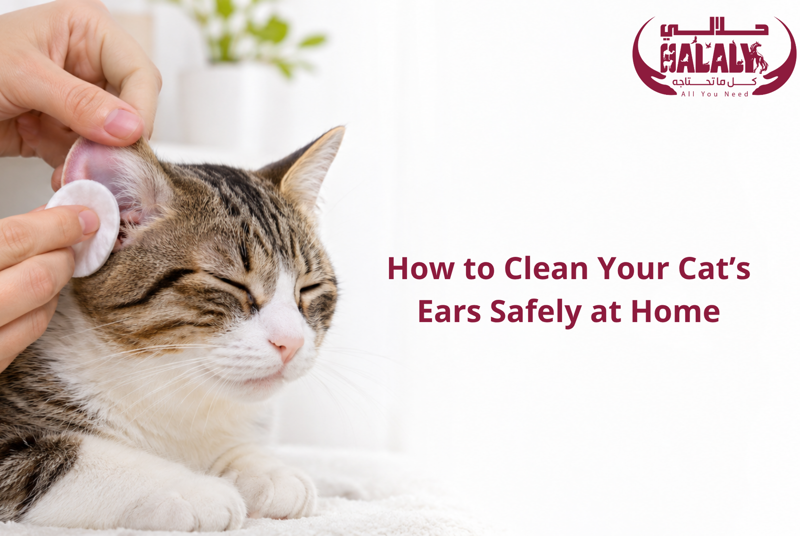
Not every cat needs regular ear cleaning. Healthy ears are usually pale pink and free from strong odours, heavy wax, and unusual discharge. For this reason, cleaning your cat’s ears should always begin with an examination rather than automatically applying a cleaning solution.
You can remove minor dirt and wax at home using a cat-specific product and soft gauze or cotton. However, if the ear is red, swollen, painful, produces dark discharge, or has a strong odour, stop cleaning. Your cat may have an infection, ear mites, or another condition requiring veterinary diagnosis.
Why Do Cats Need Their Ears Cleaned?
A cat’s ears have a natural process that helps move small amounts of wax and dead skin cells towards the outer opening. Many cats therefore maintain clean ears without frequent assistance, particularly indoor cats with no history of ear problems.
Cleaning your cat’s ears becomes useful when visible wax or dirt accumulates or when a veterinarian recommends cleaning as part of a treatment plan. Excessive cleaning can irritate the ear canal, so the frequency should always depend on your cat’s actual needs.
How Do Cats Clean Their Own Ears?
Cats use their paws and saliva to clean the outer ear and the surrounding area while grooming. The natural movement of earwax also helps gradually carry some debris towards the outside of the ear.
However, a cat cannot reach the deeper parts of the ear canal or remove heavy buildup. It also cannot treat an infection or eliminate ear mites on its own. Frequent scratching does not mean the cat is cleaning its ears; it may indicate itching or pain.
You can examine your cat’s ears once a week while brushing its coat without cleaning them every time. Look for changes in colour, smell, or wax levels, and compare both ears to identify any noticeable differences.
When Is Your Help Necessary?
Your cat may need simple assistance if you notice wax or dirt in the visible part of the ear without redness, swelling, or pain. In this situation, you can clean your cat’s ears gently using suitable products.
Cleaning may be appropriate when:
-
Visible wax has collected around the ear opening.
-
Dirt is present on the outer folds.
-
A veterinarian recommends cleaning as part of preventive care.
-
The veterinarian prescribes cleaning before applying ear medication.
-
Your cat has a history of recurring wax buildup.
-
An elderly cat or one with limited mobility cannot groom effectively.
Heavy discharge, a strong smell, or constant scratching does not mean that the ear only needs cleaning. These signs may indicate an ear infection, mites, or another condition that requires diagnosis before any product is used.
How to Clean Your Cat’s Ears at Home Step by Step
You can clean your cat’s ears at home when they are not inflamed or painful. Choose a time when your cat is relaxed and prepare all the supplies before holding it, so the session does not take too long.
If your cat resists strongly or appears to be in pain, do not restrain it by force. Stop cleaning and consult a veterinarian, as sudden resistance may be caused by pain rather than stubborn behaviour.
Preparation and Choosing the Right Cat Ear Cleaner
You will need a few simple supplies:
-
A cat ear cleaner designed for veterinary use.
-
Soft cotton pads or gauze.
-
A small towel if your cat needs to be wrapped gently.
-
A treat your cat enjoys.
-
Good lighting to inspect the outer ear.
Choose a product that clearly states it is suitable for cats. Follow the amount and directions printed on the packaging or provided by your veterinarian. Do not use a human ear product, a solution prescribed for another animal, or medication left over from a previous condition.
Avoid products containing alcohol or hydrogen peroxide unless your veterinarian has prescribed them for a specific reason. These ingredients can cause irritation, particularly when the ear canal is inflamed or ulcerated.
Do not use water, vinegar, oils, or homemade solutions inside the ear canal. These substances do not treat the cause of an infection and may trap debris, leave moisture inside the ear, or increase irritation.
Correct Cleaning Steps and Mistakes to Avoid
Follow these steps when cleaning your cat’s ears:
-
Examine the ear first:
Gently lift the ear flap and check for redness, swelling, discharge, or an unusual smell. Do not continue if your cat appears to be in pain. -
Hold your cat calmly:
Place your cat on your lap facing away from you. If it moves excessively, gently wrap its body in a towel while leaving the head exposed. -
Lift the ear flap:
Hold the tip of the ear gently and pull it slightly backwards so you can clearly see the ear opening. -
Apply the cleaning solution:
Use the recommended amount of cat ear cleaner without inserting the bottle tip into the ear canal or allowing it to touch the ear. -
Massage the base of the ear:
Gently massage the area below the ear opening for several seconds. This helps loosen wax and debris. -
Allow your cat to shake its head:
Head shaking helps move the cleaning solution and loosened debris towards the outer opening. -
Wipe away visible debris:
Use gauze or a cotton pad to clean the ear flap and entrance of the canal. Do not insert your finger or any tool deeper than you can see. -
Reward your cat:
Offer a treat after the session so your cat begins to associate ear cleaning with a calm and positive experience.
Use a fresh cotton pad for each ear, particularly when one ear has a problem, to avoid transferring discharge to the other side. If your cat needs medication after cleaning, follow your veterinarian’s instructions regarding the order of application and any required waiting period.
Never insert cotton swabs into the ear canal. They may push wax deeper, injure the canal, or damage the eardrum. Stop immediately if your cat cries, attempts to bite, or if you notice blood during cleaning.
Cat Ear Infections: Causes and Symptoms
A cat ear infection develops when the external ear canal or deeper parts of the ear become inflamed. Although ear infections are less common in cats than in some other animals, they may be associated with ear mites, infections, foreign objects, or underlying health conditions.
The cause cannot be determined from the colour of the discharge alone. Bacteria, yeast, and mites may produce similar signs. A veterinarian may need to examine the ear with an otoscope and inspect a sample of the discharge under a microscope.
Common Causes of Ear Infections
Possible causes of ear infections in cats include:
-
Ear mites: Tiny parasites that cause severe itching and dark discharge that may resemble coffee grounds.
-
Bacterial or fungal infections: These may develop after irritation or as a result of another underlying condition.
-
Allergies: These can affect the skin and ear canal and may cause recurring inflammation.
-
Foreign objects: Small pieces of plants or other materials may become trapped inside the canal.
-
Polyps or growths: These may interfere with ventilation and prevent discharge from leaving the ear.
-
Injuries to the ear canal: These may result from excessive scratching or inserting tools into the ear.
-
Trapped moisture: Moisture may create an environment that encourages the growth of microorganisms.
-
Immune or skin conditions: These can make a cat more vulnerable to infection.
Cleaning your cat’s ears too frequently can remove the protective layer and irritate the skin. Do not use an ear cleaner every day unless your veterinarian has specifically instructed you to do so.
Warning Signs That Require Attention
A cat ear infection may affect one or both ears. Warning signs include:
-
Constant head shaking.
-
Aggressive scratching of the ears or face.
-
Redness or swelling inside the ear.
-
Yellow, brown, or black discharge.
-
A strong or unusual smell.
-
Pain when the ear or head is touched.
-
Crusts or wounds around the ear.
-
Hair loss caused by scratching.
-
Tilting the head to one side.
-
Loss of balance or unusual walking.
-
Behavioural changes or loss of appetite.
A head tilt, loss of balance, or abnormal eye movements requires prompt assessment because the condition may have spread to the middle or inner ear. Veterinary care should also not be delayed if blood, pus, or obvious swelling appears.
Treating Ear Infections in Cats
Treatment for ear infections in cats depends on the underlying cause rather than cleaning alone. Ear mites require antiparasitic treatment, while bacterial or fungal infections need different medications selected by a veterinarian after examination.
The eardrum may be damaged in some cases. Using an unsuitable product when the eardrum is ruptured can cause serious complications. Do not use over-the-counter ear drops simply because the symptoms resemble a previous condition.
What Can Be Done at Home?
If signs of an infection appear, your role at home should be limited to preventing your cat from injuring itself and arranging a veterinary appointment. Do not attempt to clean deep inside the ear before the examination, as pain may cause your cat to move suddenly and become injured.
You can:
-
Monitor the frequency of scratching and head shaking.
-
Photograph the discharge or swelling if possible.
-
Record when the symptoms began.
-
Keep your cat away from other animals if ear mites are suspected.
-
Keep the ear dry.
-
Avoid human medications and homemade remedies.
-
Follow the full treatment plan prescribed by the veterinarian.
-
Clean your cat’s bedding and supplies if a contagious parasite is present.
If the veterinarian includes cleaning in the treatment plan, use the recommended product at the prescribed frequency. Some treatments require cleaning before medication, while others need a specific waiting period between the cleaner and the medicine.
Do not stop treatment when the smell disappears or discharge decreases. The visible signs may improve before the infection has fully cleared. Your cat may also need a follow-up examination to confirm that the inflammation has resolved and that no underlying cause remains.
When Should You Visit the Veterinarian?
Consult a veterinarian before cleaning if the ear is red, swollen, painful, or producing heavy discharge. Recurring infections also require examination because they may indicate mites, allergies, an unusual ear canal shape, or a polyp.
Visit the veterinarian if you notice:
-
Severe pain when touching the ear.
-
A strong and persistent smell.
-
Bloody or pus-like discharge.
-
Swelling or blockage of the ear canal.
-
A head tilt or loss of balance.
-
Reduced response to sounds.
-
Fever or lethargy.
-
Swelling of the ear flap.
-
Symptoms that continue despite treatment.
-
An infection that returns shortly after treatment.
The veterinarian may use an otoscope to check the eardrum and look for a foreign object or growth. A sample of the discharge may also be examined to identify mites, bacteria, or yeast and determine the correct treatment.
Frequently Asked Questions About Cleaning Cats’ Ears
The correct care routine depends on each cat’s condition, so there is no fixed schedule that requires every cat to have its ears cleaned regularly. Routine inspection is more important than frequent cleaning because healthy, clean ears do not need unnecessary intervention.
The following answers explain how to clean your cat’s ears safely at home and identify situations in which home cleaning is unsuitable.
How Often Should You Clean a Cat’s Ears?
Most healthy cats do not require routine ear cleaning. Examine the ears weekly, but only use a cleaner when visible wax or dirt is present or when a veterinarian has established a schedule for a recurring condition.
Excessive cleaning may irritate the ear canal, so do not automatically clean your cat’s ears every day or every week. The appropriate frequency depends on wax production, lifestyle, and medical history.
If the ear quickly fills with wax after every cleaning, do not simply repeat the process. Your cat needs an examination to identify the cause of the recurring buildup.
Can You Use Cotton Swabs?
You may use a large cotton pad or gauze to wipe the visible outer ear, but never insert cotton swabs into the ear canal. They can push wax and discharge deeper, scratch the canal, or damage the eardrum if your cat suddenly moves.
Only clean areas you can clearly see and reach. If the debris is deep or hardened, allow a veterinarian to remove it rather than trying to reach it with a long tool.
Can an Ear Infection Spread to Other Animals?
The inflammation itself is not always contagious because bacterial or fungal infections may develop as a secondary problem specific to the affected cat. However, some causes, particularly ear mites, can spread easily between cats and other animals sharing the same environment.
If your cat is diagnosed with ear mites, your veterinarian may recommend examining or treating other animals in the household, even when they show no obvious symptoms. Bedding and sleeping areas may also need to be cleaned according to veterinary instructions.
Do not share ear-cleaning supplies between animals, and use separate gauze for each ear. If several animals develop itching or discharge at the same time, consult a veterinarian to identify the cause and establish a suitable treatment plan.
Regular examination and the appropriate use of a cat ear cleaner can help keep the ears clean without causing irritation. Visit Halalys to choose suitable cat care supplies, and stop cleaning and seek veterinary advice if you notice pain, a strong smell, or unusual discharge.